
Essential Tips and Tools for Stunning Soutache Projects
Share
Crafting with soutache braid offers a unique and sophisticated way to enhance your DIY projects, adding a touch of elegance to jewelry, apparel, and home décor items. This intricate embroidery technique, known for its distinctive loops and swirls, can transform simple designs into stunning works of art. Whether you're looking to create eye-catching earrings, stylish bracelets, or beautifully adorned clothing and cushions, mastering the use of soutache braid trim can significantly elevate your craftsmanship. In this guide, we'll delve into essential tips and tools to help you get started with soutache, providing the inspiration and know-how needed to embark on your creative journey.
Essential Tools for Soutache Projects
Must-Have Soutache Braids
When starting with soutache projects, choosing the right soutache braids is crucial. These braids come in various colors, textures, and widths, providing versatility for different designs. Look for high-quality soutache braid trim made from rayon, polyester, or silk, as these materials offer durability and a smooth finish. Rayon braids are particularly popular due to their vibrant colors and flexibility. Opt for a width of around 3mm to 4mm for most projects, as this size is manageable for beginners yet versatile enough for intricate designs. Stock up on a range of colors to allow for creative freedom in your projects. Having a variety of soutache braids on hand will enable you to experiment with different color combinations and textures, ensuring your creations stand out.
Best Needles for Soutache Embroidery
Selecting the right needles is essential for successful soutache embroidery. Use fine, long needles that easily glide through the layers of soutache braid without causing damage. Beading needles, particularly size 10 or 12, are ideal for this purpose due to their slim profile and strength. These needles allow for precise stitching and provide better control when working on intricate patterns. Additionally, consider using a curved needle for sewing soutache braid trim onto rounded or contoured surfaces, making the process smoother and more efficient. Ensure the needle eye is small enough to fit through the beads if your design incorporates them. Stocking up on high-quality needles will ensure your soutache projects are not only easier to complete but also exhibit a professional finish.
Choosing the Right Threads
Selecting the appropriate thread is vital for achieving a polished look in your soutache projects. Opt for strong, thin threads that blend seamlessly with the soutache braid. Nylon or polyester threads are excellent choices due to their durability and resistance to fraying. When matching thread colors to your soutache braid trim, choose shades that either blend with the braid or complement the overall design. A neutral-colored thread can also be a versatile option, minimizing visibility while maintaining structural integrity. For added strength, consider using double strands of thread, particularly in areas subject to more stress. Waxed thread can be beneficial as well, as it reduces tangling and provides smoother stitching. Having the right threads on hand ensures that your soutache embroidery is not only visually appealing but also durable.
Tips for Stunning Soutache Creations
Mastering Basic Soutache Techniques
To create beautiful soutache projects, mastering basic techniques is essential. Start with the foundational skill of stacking and stitching soutache braids. Align two or more braids and sew them together with small, consistent stitches, ensuring the thread is tight but not causing puckering. Practice creating loops and swirls, which are signature elements of soutache designs. Use pins or clips to hold the braids in place as you shape them, ensuring precision. Another crucial technique is embedding beads within the braids. Thread the needle through the bead, then secure it by stitching into the braid, creating a seamless integration. Also, learn to anchor your work by securing the ends of the braids neatly to prevent fraying. Regular practice of these techniques will build your confidence and skill, allowing you to tackle more complex designs with ease.
Adding Beads and Crystals
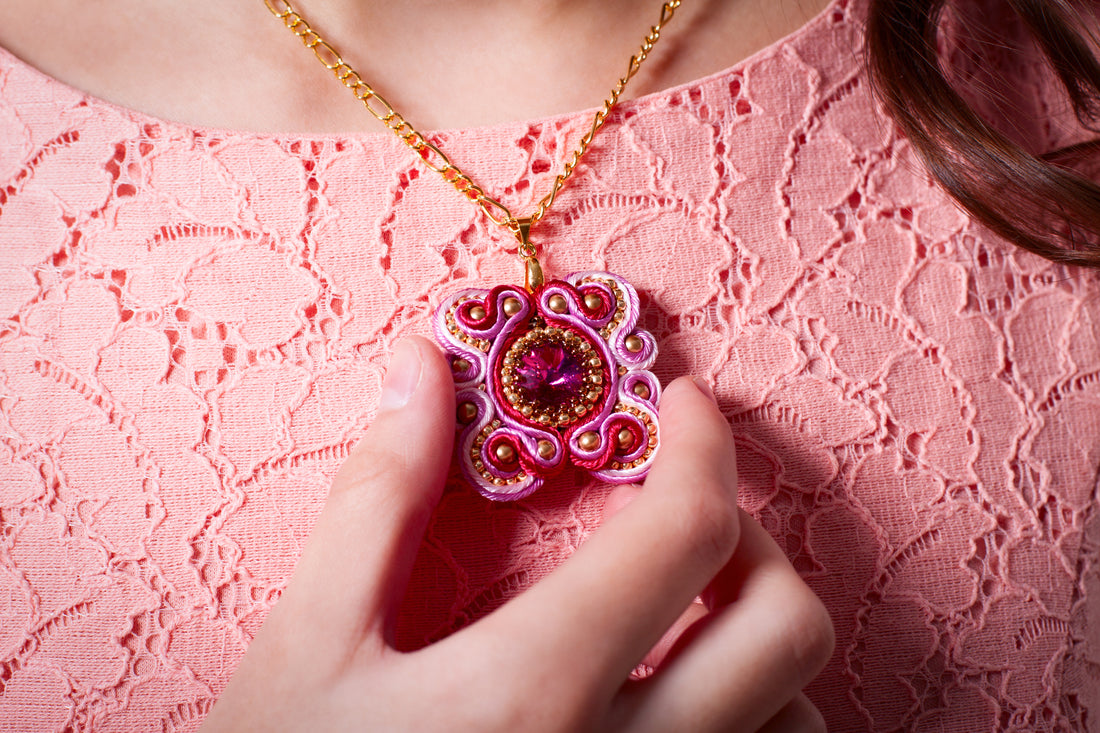
Incorporating beads and crystals into your soutache projects adds sparkle and depth to your designs. Begin by selecting beads and crystals that complement the colors and style of your soutache braid trim. Seed beads, pearls, and Swarovski crystals are popular choices. To add a bead, thread it onto your needle and position it between the soutache braids. Secure it by stitching through the bead and back into the braids, ensuring it is tightly anchored. For larger crystals, create a bezel by surrounding them with soutache loops, then stitch the loops together to hold the crystal in place. Mixing different sizes and types of beads can create a rich texture and intricate patterns. Remember to maintain balance in your design, ensuring the beads enhance rather than overwhelm the soutache elements. This technique will elevate your creations, making them truly stand out.
Ensuring Neat and Secure Finishes
Achieving neat and secure finishes is crucial for a professional look in your soutache projects. Begin by carefully trimming the ends of your soutache braids, ensuring they are even and tidy. Use a lighter or fray check to seal the ends and prevent unraveling. When securing the final stitches, make sure they are hidden within the braids to maintain a clean appearance. Knot the thread securely and apply a small dab of clear-drying fabric glue on the knot for extra hold. If your design includes exposed backing, consider covering it with a piece of felt or fabric that matches your project to conceal any stitches and thread ends. Regularly inspect your work during the stitching process to catch and correct any loose threads or misalignments. By prioritizing these finishing touches, your soutache creations will not only look beautiful but also stand the test of time.